In this article, we'll show you how to set up Clik Jobs and link it with Clik Service so you can start connecting with your engineers out in the field.
- Staff Privileges
- Setup Wizard
- Syncing Jobs Between Clik Service, Clik Jobs and the Cloud
- Pushing A Job To The Cloud
- How To Bring Job Sheets Back Into Clik Service
Before you can start setting up, you need to check how many licenses you have for Clik Jobs. You can do this in Clik Service by going to Help > About, where it will show you how many licences you have for each Clik product you use.
Staff Privileges
This is how you set up which staff members can use Clik Jobs.
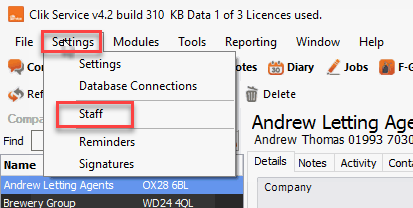
First, open Clik Service and go to Settings > Staff.
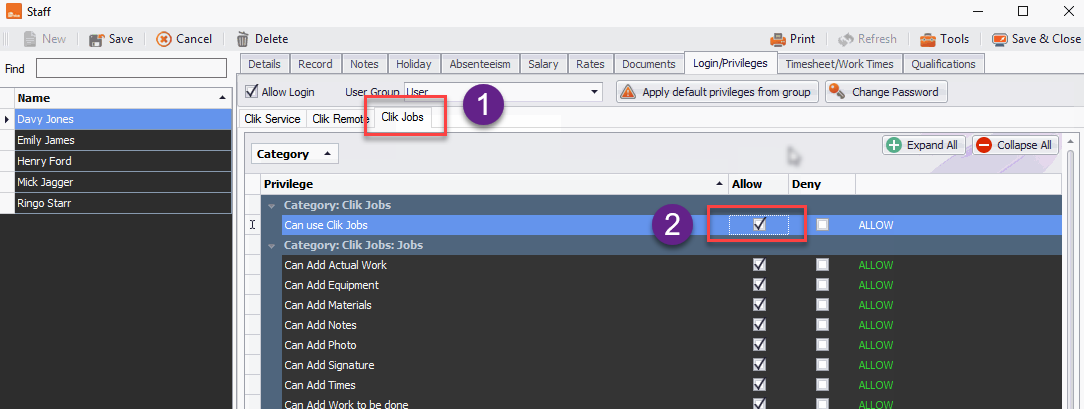
The staff window will open, where you'll see a list of your staff members on the left-hand side. This is where you should select a staff member who is going to be using Clik Jobs.
On the 'Login/privileges' tab, tick 'Allow Login', if it’s not already been enabled. This is also where you can reset the engineer's password if you’re not sure what it is, by clicking on 'Change password'.

Next, go to the 'Clik Jobs' tab and tick allow for the 'Can use Clik Jobs' permission.
Setup Wizard
Next, you need to go to the Clik Jobs setup wizard to configure what your engineers can synchronise with Clik Service.
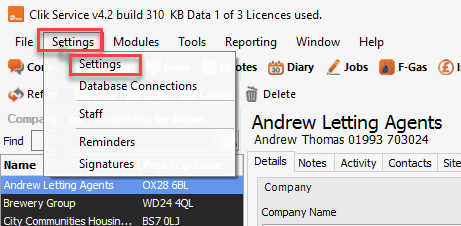
In Clik Service, go to Settings > Settings.
Navigate to Clik Jobs > Setup wizard.
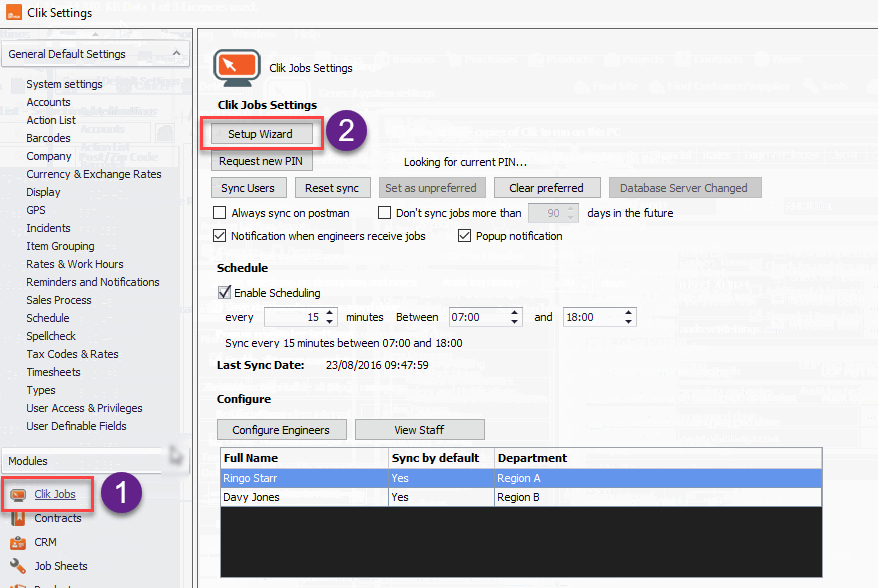
Click on 'View staff' to edit who has access to Clik Jobs or 'Configure engineers' to make customers, sites, equipment and products available to specific engineers if required.
You only need to make customers available to engineers if they need to be able to create jobs within Clik Jobs (doing this will increase the initial sync time that Clik Service and Clik Jobs will need to complete before Clik Jobs can be used).
Find links below to support articles on how to do this:
At the bottom of the window underneath the engineer options heading; you can select each engineer to 'sync by default, force customer signature before completing job' and 'force completion of action list before completing a job'. Tick the box next to each option to set it up.
Click 'Next' and Clik Jobs will start syncing data to the cloud.
On the next screen, you will then be able to schedule automated syncs with the cloud. For example, you could set it to sync every 10 minutes between 8am to 8pm.
Once you've set this up click 'Next'.
You will now be given a pin code, which you should take note of. When an engineer first logs into Clik Jobs on their device, they will need to put in this code.
Then click 'Finish'.
You are now ready to sync job sheets between Clik Service and Clik Jobs!
Syncing Jobs Between Clik Service, Clik Jobs and the Cloud
Once you have created a job you will need to add the engineer to it.
To do this, open the relevant job sheet in Clik Service from within the 'Job' module.
Click on the 'Engineers' tab then click on 'Add'.

Choose your engineer from the drop-down and date/time from the schedule, then click 'OK'.
The engineer's name will now be added to the job.
If the engineer is set to sync by default then it will sync at the next scheduled time, however, if they're not, you will need to tick the 'Sync' box.
Click 'Save & close' in the top right of the job sheet and the job will sync at the next scheduled time.

Pushing A Job To The Cloud
Make the selected job available in the cloud by clicking on the job sheet and going to Engineers > Sync job.
The engineer can then download the job when required. This will also push any other jobs in the queue.

Find more information on syncing jobs here.
How To Bring Job Sheets Back Into Clik Service
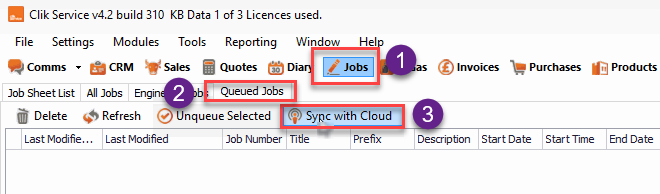
When a job has been uploaded by an engineer and synced back into Clik Service it will appear in the queued jobs tab in the jobs module.
Go to Jobs > Queued Jobs. In here you may see jobs that have come down automatically from the last scheduled auto-sync. If not click 'Sync with Cloud'.
Once the jobs are down, double-click on any job and a window will appear with the original job sent to the engineer with the changes made by the engineer.
You can choose to accept or reject individual parts of the engineer's job by using the 'Accept' or 'Reject' buttons.
If you want to accept all the information sent back, click 'Accept queued job'.
NOTE: Any changes made to the original job since it was sent to the engineer will be lost.
Once you have accepted the changes, the job will be updated and deleted from the queued job list.
We have lots of other support articles on how to use Clik Jobs, which you might find helpful too:
Comments
0 comments
Article is closed for comments.